Polyominoes
This section assumes you are very familiar with the concepts, terms and ideas for protograf as presented in the Basic Concepts , that you understand all of the Additional Concepts and that you’ve created some basic scripts of your own using the Core Shapes. You also be familiar with the various types of shape’s properties described in the Customised Shapes
Overview
Polyominoes are graphical objects constructed out of a
pattern of one or more squares.
Normally, polyominoes are made up of squares that touch other squares
along one or more sides, but the pattern property approach used by
protograf means that any kind of arrangement can be
constructed.
Properties
In addition to the properties that are applicable to a Square or Rectangle a Polyomino can also be customised with the following properties:
pattern - this is a list of string values; one string per row. Each string contains one or more numbers aka “columns”. Each number represents a square, with a zero (0) representing a space.
invert - this can either be
leftright(lr) ortopbottom(tb) and will reverse the order of the numbers, either in a left-to-right (numbers at the end of a row go to the start and vice-versa) or top-to-bottom (rows at the end go to the start and vice-versa)flip - this can either be
north(n) orsouth(s) and transposes rows and columns; effectively rotating the shape 90°gap - this is the amount of space to leave between each row and each column in the pattern
outline - along with outline_stroke and outline_stroke_width is used to draw a line around the boundary of all connected squares in the pattern — it cannot be used in conjunction with a non-zero gap
blank_fill - non-used squares can have a different fill color
fills - each square can be associated with a different fill color
strokes - each square can be associated with a different stroke color
labels - each square can be linked to a different label
shapes - each square can be linked to a different centred shape
Examples
The examples below shows how various properties can be used to customise a Polyomino.
Polyomino: Basic
|
This example shows a Polyomino constructed using the command: Polyomino()
This shape can be hard to see as it looks like a simple square with a thin outline. It uses only default values for size, stroke and color. The default |
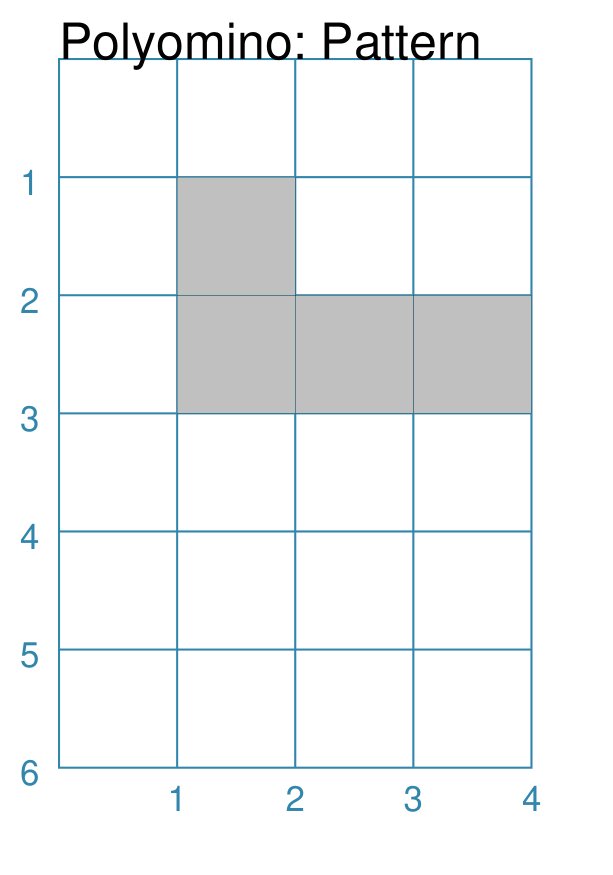
Polyomino: Pattern
|
This example shows a Polyomino constructed using the command: Polyomino(
fill="silver",
pattern=['100', '111'])
The pattern is a key property for a Polyomino. Each string in the pattern’s list represents a row, starting with the “top” row. Each number in the string represents a column. NOTE Each row must be of the same length! A square is drawn at each row/column position where the number is not zero (0). In this example, the first row has 1 square followed by two spaces
(the two |
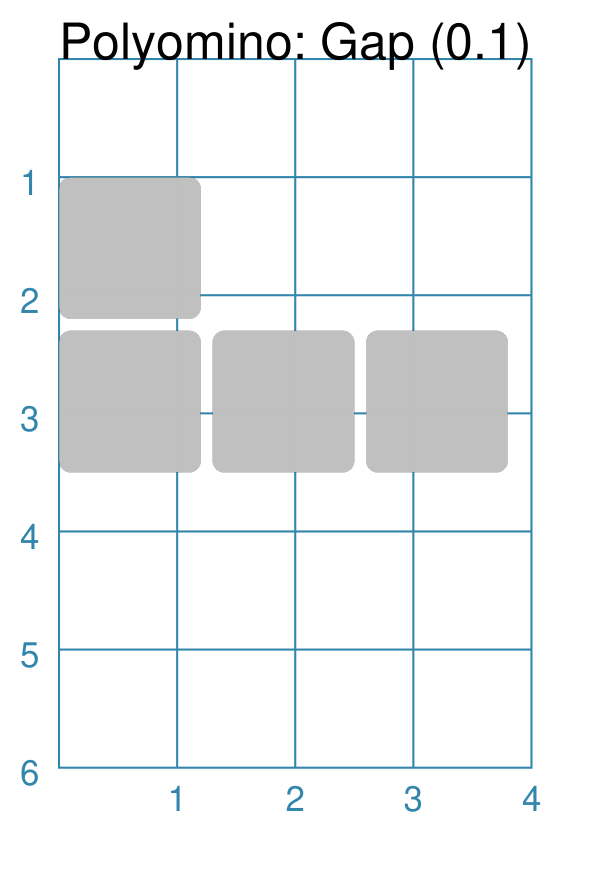
Polyomino: Gap
|
This example shows a Polyomino constructed using the command: Polyomino(
x=0, y=1,
fill="silver",
side=1.2,
pattern=['100', '111'],
gap=0.1,
rounding=0.1)
A gap ensures space between each square — both in the vertical and the horizontal direction. In this example, a few other properties have been set. These are ones
applicable to the drawing of a square - such as its size ( Note that setting |
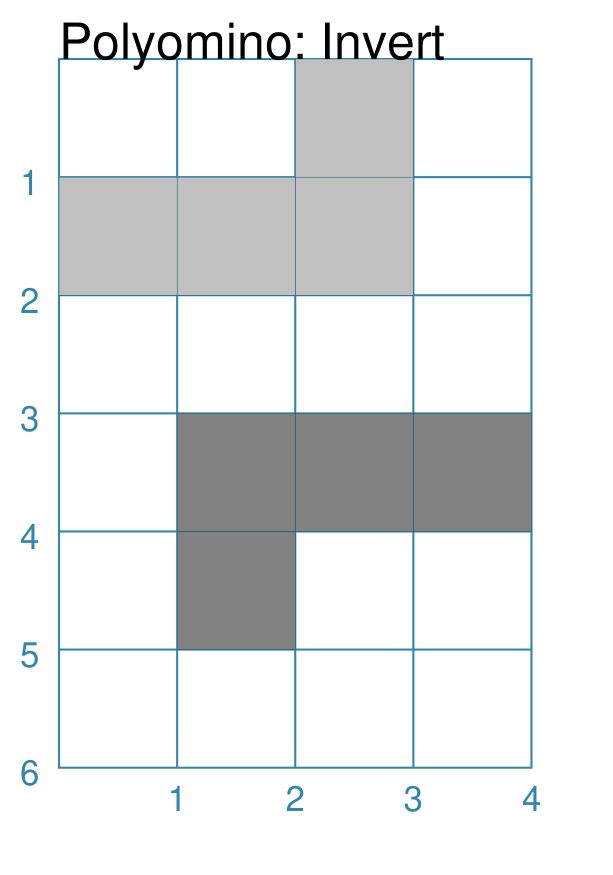
Polyomino: Invert
|
This example shows Polyominoes constructed using these commands: Polyomino(
x=0, y=0,
fill="silver",
pattern=['100', '111'],
invert="LR")
Polyomino(
x=1, y=3,
fill="grey"
pattern=['100', '111'],
invert="TB")
In this example, the invert property is used to alter the order of the squares:
|
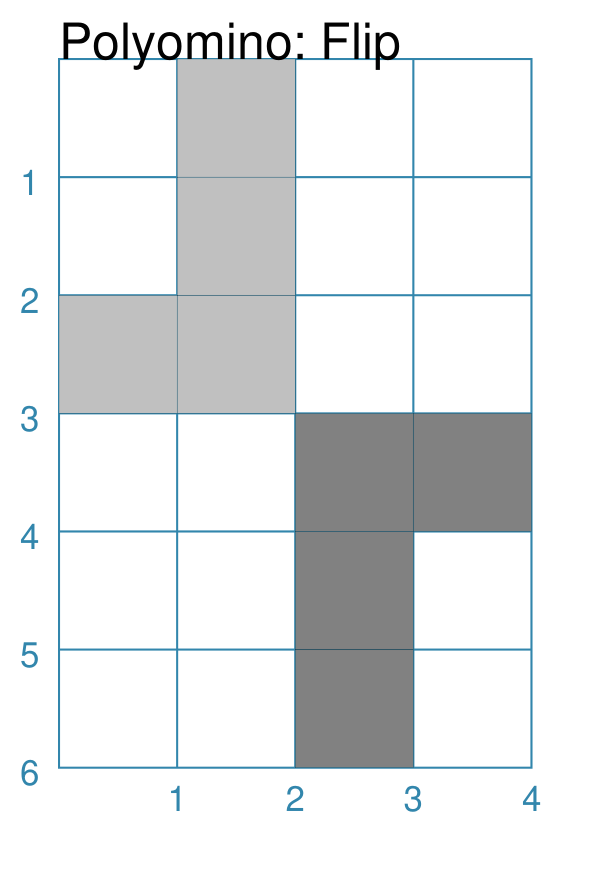
Polyomino: Flip
|
This example shows Polyominoes constructed using these commands: Polyomino(
x=0, y=0,
fill="silver",
pattern=['100', '111'],
flip="north")
Polyomino(
x=2, y=3,
fill="grey",
pattern=['100', '111'],
flip="south")
In this example, the flip property is used to alter the order of the squares:
|
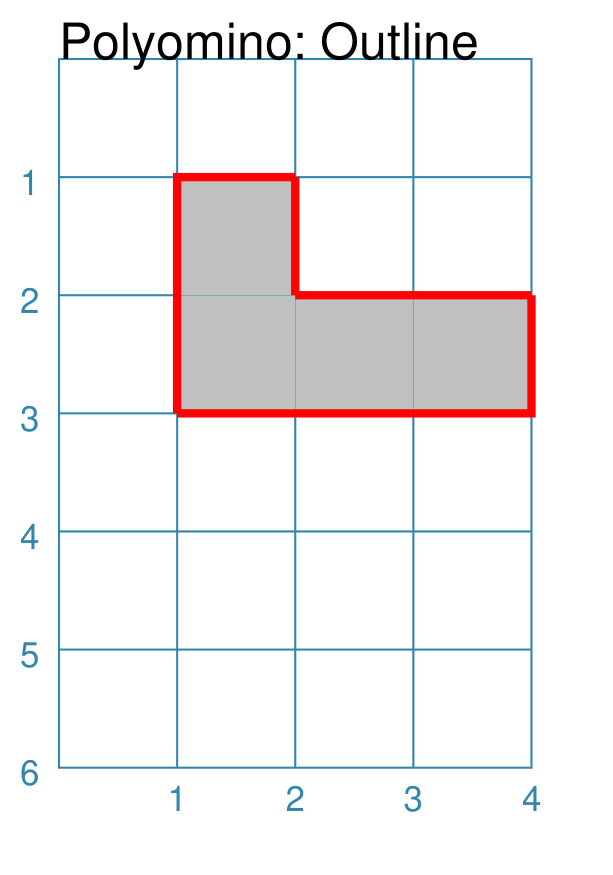
Polyomino: Outline
|
This example shows a Polyomino constructed using the command: Polyomino(
fill_stroke="silver",
pattern=['100', '111'],
outline_stroke='red',
outline_width=2)
In this example, the flip property is used to draw a thick red line around the perimeters of all the squares in the Polyomino. Note that the fill_stroke propery is used to ensure that all the squares are a uniform color. |
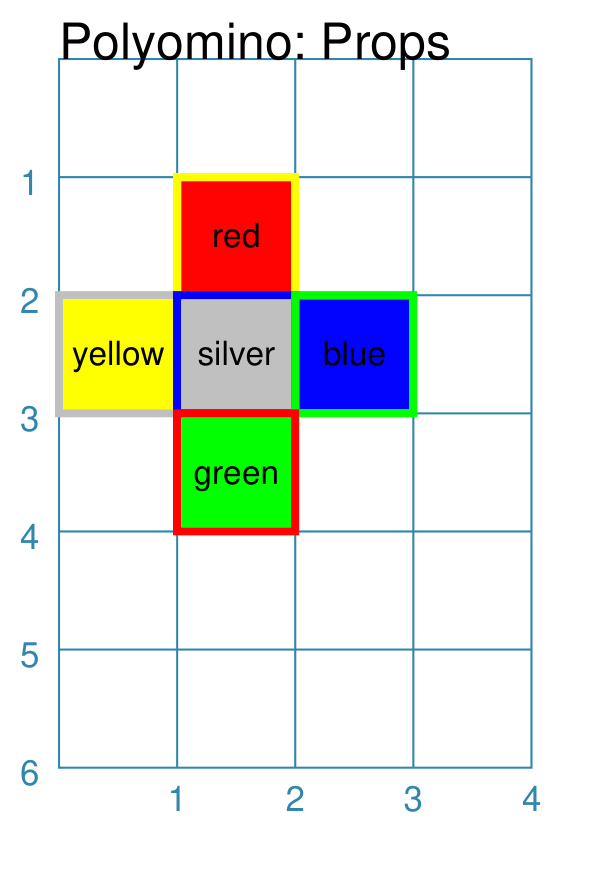
Polyomino: Properties
|
This example shows a Polyomino constructed using the command: Polyomino(
x=0, y=1,
stroke=None,
pattern=['010', '234', '050'],
fills=[
'red','yellow','silver','blue','green'],
strokes=[
'yellow','silver','blue','green','red'],
stroke_width=2,
label_stroke="black",
label_size=8,
labels=[
'red','yellow','silver','blue','green'],
)
In this example, the pattern is made from numbers other than just In addition, values are assiged to the fills, strokes and
labels properties. The order of these values will determine how
they are used: the first value is assigned to square number |
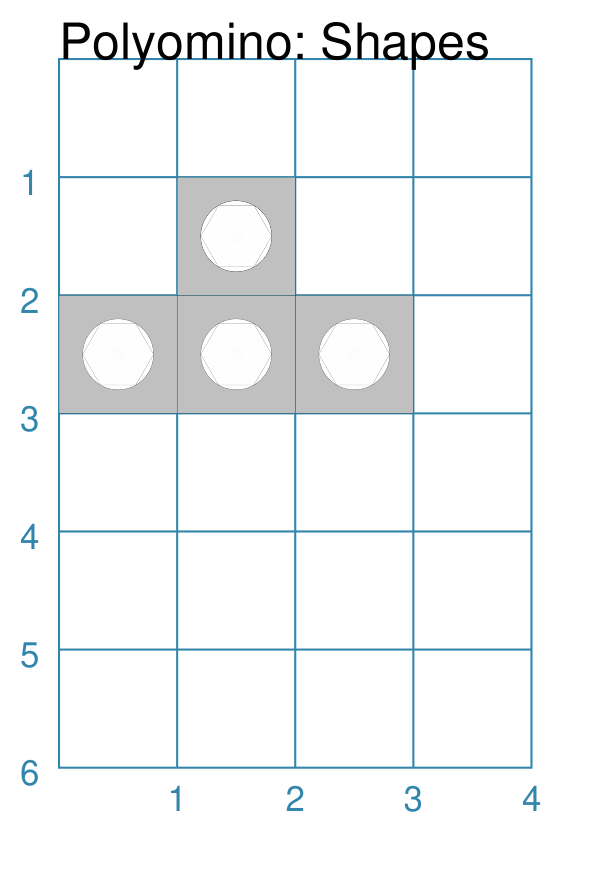
Polyomino: Shapes
|
This example shows a Polyomino constructed using the command: Polyomino(
x=0, y=1,
fill="silver",
pattern=['010', '232'],
centre_shapes=[
circle(radius=0.3),
dot(),
hexagon(radius=0.3)]
)
In this example, the pattern is made from numbers other than just In addition, values are assiged to the centre_shapes property. The order
of these values will determine how they are used: the Circle shape is
assigned to, and drawn in, polyomino square number It should be noted that a number can be used multiple times in the
pattern; in this example, the number |
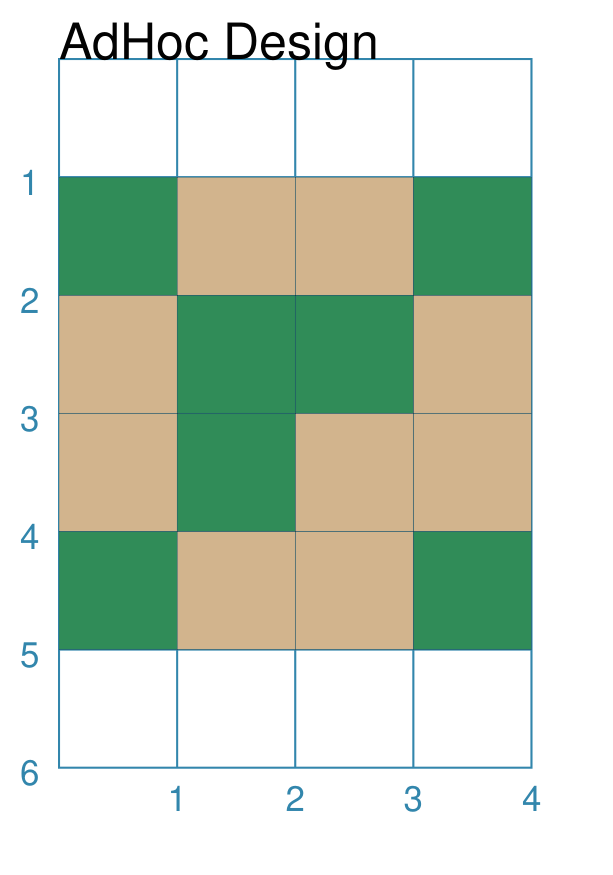
Polyomino: Adhoc Design
|
This example shows a Polyomino constructed using the command: Polyomino(
x=0, y=1,
fill="seagreen",
blank_fill="tan",
pattern=[
'1001', '0110', '0100', '1001'])
In this example, the pattern — made up of the green squares — is constructed in such a way that the squares comprising it are not all adjacent to another square. Technically, this is not a Polyomino but can provide a useful way to construct a pattern made up of squares in an arbitrary layout. This example shows how to color in “blank” areas that are not
filled in by the Polyomino i.e. those marked with |